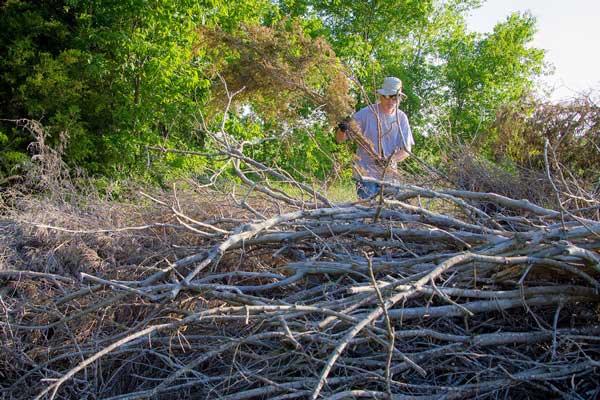
Creating and maintaining good wildlife habitat on our land usually requires an extensive amount of time, money and hard work.
If you want to increase populations of upland game animals, however, there's a quick, simple and inexpensive way that will provide dividends almost immediately: build some brush piles.
Why You Should Create Cover
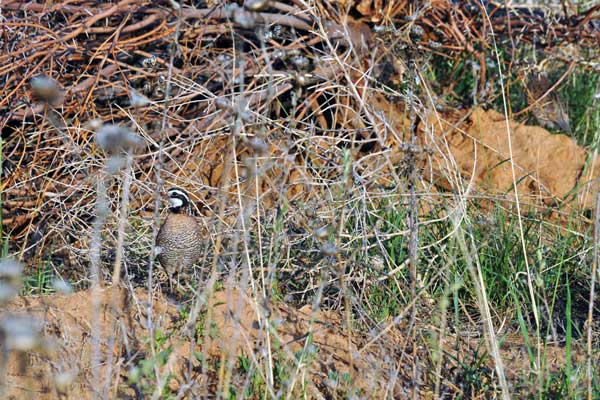
Throughout the year, many wild animals need dense cover in which to hide from predators, rest, raise their young and seek shelter from severe weather. When trees and shrubs lose their foliage in autumn, or where habitat is marginal, permanent sources of cover become even more important.
Creating brush piles is a fast way to provide such shelter for quail, pheasants and other upland game. This type of habitat is especially important for protecting fledgling bobwhites, juvenile cottontails and other young animals.
Good brush piles benefit a wide variety of other animals as well, including songbirds, small mammals, reptiles and amphibians.
Where to Place Your Brush Pile
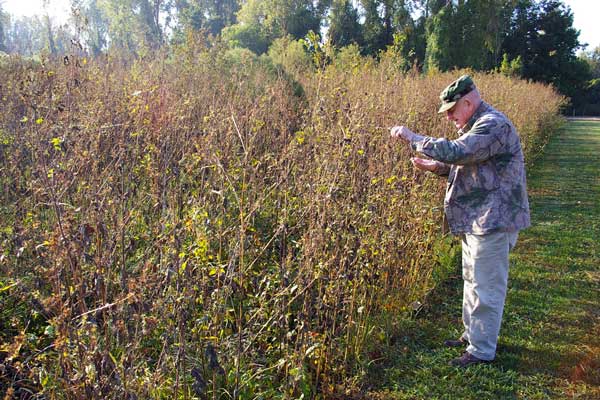
Building brush piles requires no special tools — a good bow saw is really all you need — and only a little initial planning. The main thing to decide beforehand is where you want to place your brush piles.
The best locations are edge areas that have food sources and escape cover close together. These include woodland edges, field borders, fence corners and forest openings. For our purposes, it's also best if the locale has plenty of small trees like oaks, sweetgums, cedars or pines that can be used in the brush piles' construction.
Because brush piles may attract animals like rodents and snakes, and because they can be fire hazards, it is usually best to place them well away from houses.
How-To
Step 1
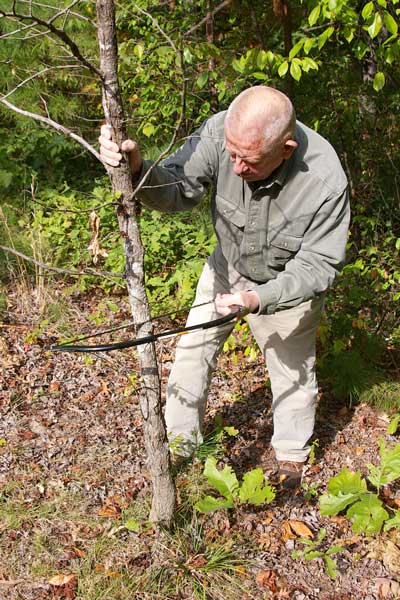
There are many ways to make brush piles, but none are faster or simpler than the hinge-cut method illustrated here. The first step is to make a sturdy base. Select a sapling 4 to 8 inches in diameter and use your saw to cut three-quarters of the way through one side, about 2 to 3 feet above the ground.
This "hinge cutting" allows nutrition to continue passing from the roots to the rest of the tree, keeping it alive and sturdy longer than a complete cut would allow.
Each brush pile made the way will last much longer than one made with other materials.
Step 2
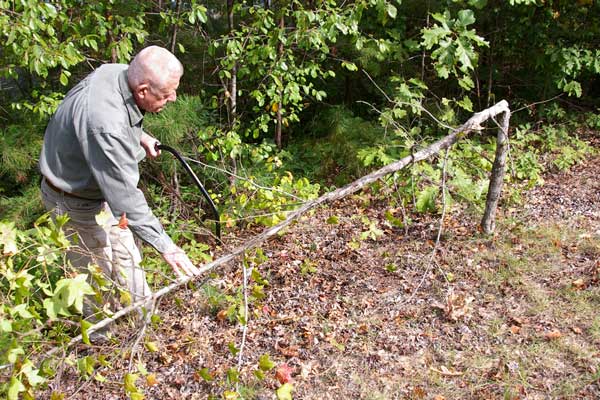
After making the cut, push the tree over without breaking it free from the stump. The top should rest on the ground. Trim some of the branches away from the underside.
You now have a base that will support the brush while providing an open area beneath for the animals that will use it.
Step 3
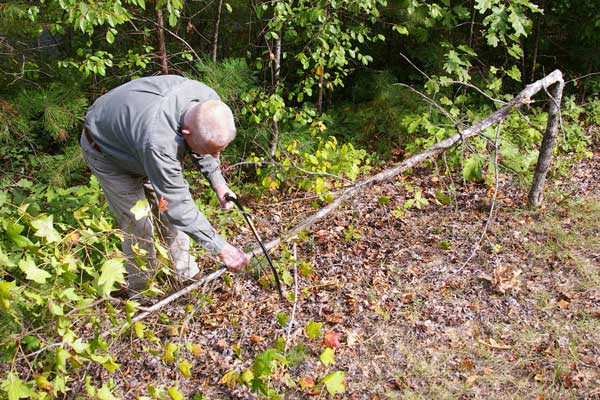
If the tree has a big leafy top with lots of branches, you may want to cut it off with your saw and save it for use in framing and covering the brush pile. Let the cut end rest securely on the ground.
Step 4
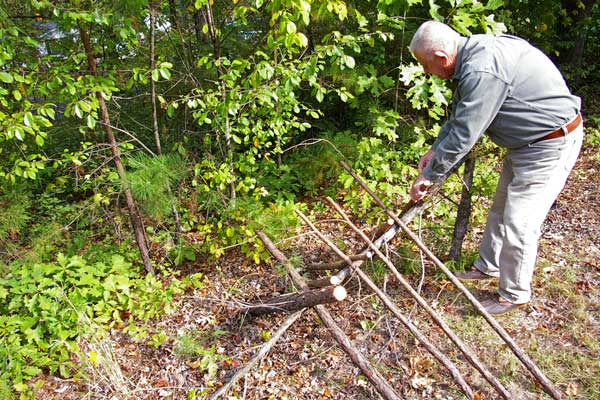
Once the base is complete, start adding additional pieces of wood at right angles to the hinge-cut trunk to create a framework that will support smaller limbs and brush.
The spaces between the framing pieces shouldn't be more than a few inches wide, and the framing should extend from end to end along the base tree.
It may help to push the lower end of these pieces into the ground so they will remain upright, or to tie them to the base tree with short lengths of nylon cord.
Step 5
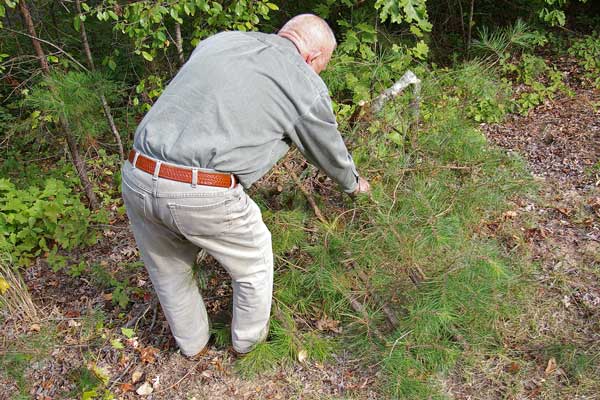
With the framework complete, it's time to brush over the top with leafy branches. Small pine or cedar saplings are among the best materials for creating an almost weatherproof top layer, but almost any woody yard or logging waste, even old Christmas trees, can become part of the pile.
You may want to add a few heavier pieces on top to prevent lightweight materials from blowing off.
Step 6
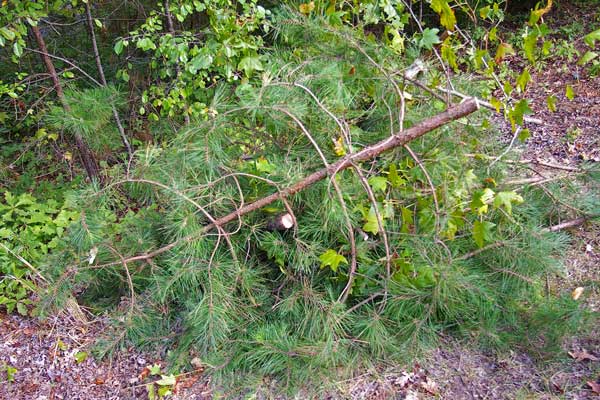
Continue adding additional material on top until you have formed an interlacing canopy that will protect the space beneath from the elements.
It's almost like creating a makeshift bivouac shelter that will protect you outdoors if you're caught in bad weather — only this shelter is for wildlife, not you. When complete, the brush pile will have a thick canopy on top that conceals the interior space and is dense enough to block rain and snow.
Some animals such as rabbits and songbirds may begin using the brush piles the first day after you make them.
Step 7
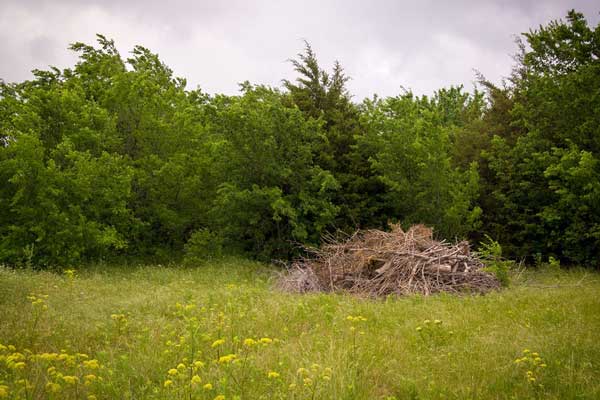
Try to create at least four to eight brush piles per acre so there's ample cover for a variety of animals. Several small brush piles work much better than a few large ones.
Leave an unmown band of natural vegetation at least 10 yards wide completely around each structure. This cover will provide resting areas, nesting sites and food for rabbits, quail and other game animals, plus escape routes and travel lanes to other parts of your land.
Add new material on top of the brush piles periodically as they age and each should last several years, providing an important habitat component that will help make your land a haven for wildlife.


